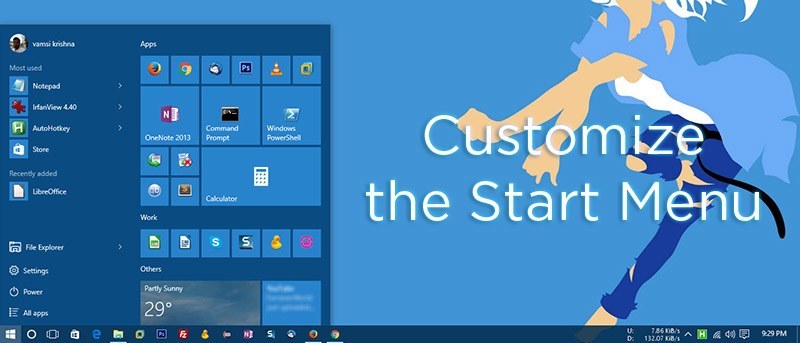
One of the big things about Windows 10 is that the Start Menu is back with best features in both Windows 7 and 8. Not only the start menu has best of the both worlds, but also has several customization options. With a little bit of effort, you can customize the Start menu to be your own.
Customizing the Tiles in the Start Menu
Just like in Windows 8, you can add, remove, and customize the live tiles appearing on the right-side of the start menu. For instance, if you want to add an application shortcut to the right-side, then simply find the application you need, right-click on it and select the option “Pin to Start.”

If you want to remove a tile from the Start menu, then right-click and select the option “Unpin from Start.”

You can also resize the tiles into four different sizes namely small, medium, wide, and large. To do that, right-click on any tile and select the appropriate option from the “Resize” submenu. In case you are wondering, the below picture shows all four tile sizes.

The other good thing is that you can group all your app shortcuts on the right side of the start menu just by dragging and dropping. Once you are done with grouping, you can name those groups. To do that double-click on the default group name and enter the new name.

If there is no visible group name, then move your mouse above the group and you should see a prompt “Name group.” Just select it with you mouse and name the group accordingly.

Resizing the Start Menu
Unlike in Windows 8, the Start Menu in Windows 10 is flexible and you can easily resize the start menu by dragging it with your mouse.
For instance, if you want to increase the height of your start menu then place your mouse on the top edge of the start menu and drag it upwards.

Alternatively, you can increase the width of the start screen by dragging it from the right-side. This is a good choice if you have a wide monitor.

Of course, you can also completely remove the right-side by shrinking the start menu accordingly. But before dragging it to the left side, make sure that there are no pinned apps on the right-side of the Start menu.
Customize Shortcuts in the Left Sidebar
Since the Windows start menu allows you to add apps to the right-side, there is not much you can do on the left side. But you can still add select folders to the left side of the start menu.
To do that, click on the Notifications icon and then select the option “All Settings.”

In the Settings panel, select the option “Personalization.”

Here in the Personalization panel, navigate to the “Start” section and then click on the link “Choose which folder appear on Start.”

The above action will take you to the Folders screen. Here, select the folders you want to display on the start menu. In my case, I’ve selected my Network folder to appear on the start screen.

Once the folder has been added, this is how the bottom left side of the start menu looks like.

Pin Settings to Start Menu
Just like you can pin apps and folders to the Start menu, you can pin the items in the Settings panel. To do that, open the Settings panel from the Action center.
Once you are in the Settings panel, right-click on any option you want to add and then select the option “Pin to Start.”

As you can see from the above image, I’m adding the “Update and Security” option to the Start menu. Once added, this is how it looks like.

Change Color and Transparency
Besides from everything, you can also customize the look and feel of the Start menu by changing and color and transparency settings. To do that, open the “Personalization” panel and then select “Colors” from the left sidebar.

Here, there will be three options to deal with. If you want Windows to automatically choose a color from the background then turn on the first option “Automatically pick and accent color from my background.”
If you turn off the above option, you can choose any color from the Color Palette.

If you don’t want any color for the Start menu, taskbar, and the notification center, then turn off the second option “Show color on Start, taskbar, and action center.”
To turn off the transparency in the start menu, taskbar, and the action center, toggle the button under the third option “Make Start, taskbar, and action center transparent.”
Enable Windows 8 Style Start Screen
Last but not least. If you are someone who liked the Start Screen type implementation in Windows 8 then you can enable it in the Windows 10.
To enable the full-screen start menu, open the Settings panel, navigate to “Personalization” and then select “Start” from the left sidebar. Here toggle the option “Use Start full screen” and you are good to go.

That’s all for now and hopefully that helps. Do comment below sharing your thoughts and experiences about the new Start Menu and its customization options.